Connected studios: Control room tools
Using studio 2 as a control room for studio 1? Here are the essential tools and techniques you need.
1: Create your show and playlist (DigAIRange)
2: Add content to your playlist pool
3: Add your show to Turboplayer
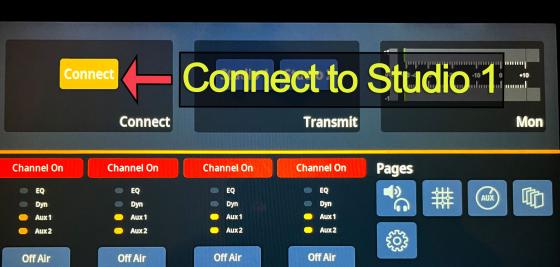
4: Prepare the studio (Solo sending or connected studios)
Extras:
Connected studios: Studio 2 Control room tools
Intercom / PFL (Talk between studios)
Setup the Studio 2 mixer to talk between studios
PFL button ON for the Studio 1 microphone channels you wish to hear both ON AIR and OFF AIR. (f.eks. Programleader on Mic 1 has the mixer button for PFL turned ON. Studio 2 can now hear what is said on Mic 1 at all times)
- PFL sound is sent to the internal speaker on the mixer. Volume is controlled with the Cue knob. Turn it up!
Talk 1: Talk to the Programleader on Mic 1 via headphones
- Private talk to ONLY the Mic 1 headphones.
- Ensure the programleader has headphones on and volume for headphones turned up.
- Press and HOLD the Talk 1 button on the mixer.
- Use the microphone labelled 3 to talk to the programleader.
Talk 2: Talk to everyone via the studio speakers
- Ensure the programleader has adjusted the volume control for Monitor so that it is turned up
- ALL microphones in Studio 1 are OFF (Red ON AIR light is off in Studio 1).
If any Studio 1 microphone is ON, no sound will be heard - Press and HOLD the Talk 2 button on the mixer.
- Use the microphone labelled 3 to talk to Studio 1.
Send to external speakers in R519
- To hear sendinger, live content and any general Digas playback in the common area in R519
- Press the Studio 2 button under Transmit on the mixer for Studio 2 (for Studio 2 only OR when Studio 2 is connected as the control room for Studio 1)
- Turn on the speakers in the common area. Rotate the volume control on the RIGHT speaker (next to the Studio 1 door) to a comfortable listening level. Turn the LEFT speaker volume to maximum. The volume control for the RIGHT speaker controls the overall sound sent to both speakers.

